Photographing Mountains in Winter
Expose snow accurately, read winter light, and prepare for cold-weather outings.
Winter changes the usual rules in the mountains: snow reflects a lot of light, days are short, and cold affects both equipment and photographer. Plan the route and conditions before thinking about camera settings.
Plan the outing and stay safe
Check the mountain forecast, road and trail conditions, and the avalanche bulletin. Tell someone your route, allow time to return, and turn back if conditions exceed your experience. No viewpoint is worth taking unnecessary risks.
Expose snow accurately
Automatic metering often renders snow grey. Use the histogram and highlight warnings; positive exposure compensation, often around +0.7 to +1.3 EV, can help, but adjust it to preserve detail. In high-contrast light, bracket exposures rather than clipping highlights.
Read winter light
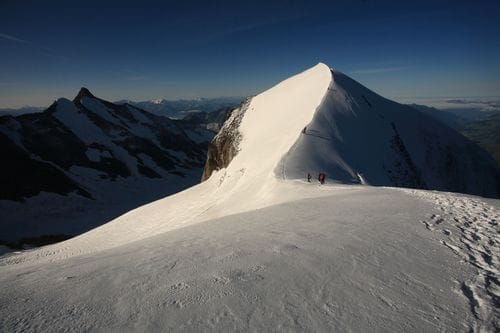
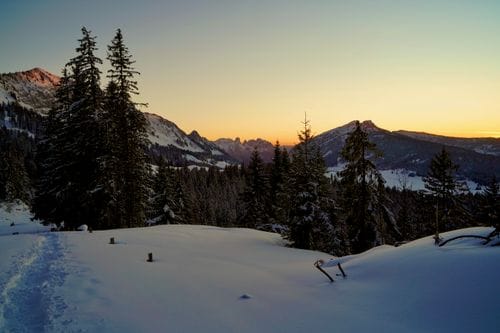
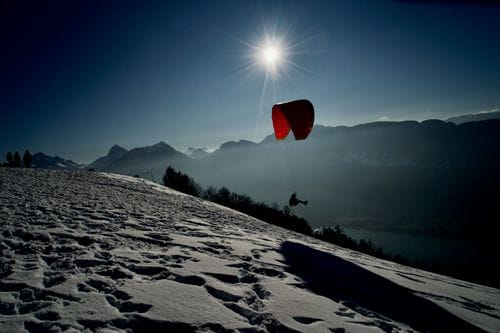
Low sun shapes the terrain with long shadows; early and late light often gives snow a warmer tone. Under overcast skies, look for shapes and texture. Watch the contrast between sunlit snow and blue shadows, and check white balance in the field.
Compose in a white landscape
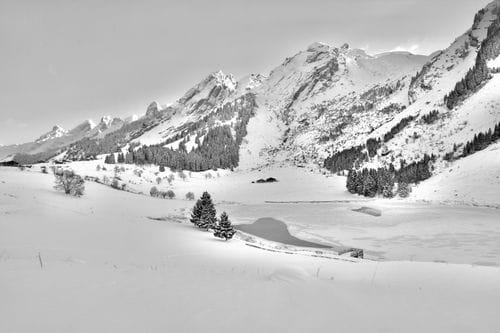
Look for clear contrast: dark rock, a lone tree, a ridge, or existing tracks. Layered planes add depth to a white scene. Include a scale reference, and do not leave marked routes to create a foreground.
Protect your gear and energy
Carry spare batteries in a warm pocket, gloves that work with camera controls, and a cover to keep snow off the camera. A dry cloth helps remove flakes; let gear warm gradually inside its bag when you return to limit condensation.
Before you go
- Check the forecast, avalanche bulletin, access, and daylight hours.
- Pack warm layers, gloves, water, a charged phone, and spare batteries.
- Keep your hands warm and turn back if visibility or conditions deteriorate.
In winter, a good photograph starts with a well-planned outing. Take time to read the light, protect snow highlights, and put safety ahead of the frame.