Preparation & Fieldwork
Plan, anticipate light, stay safe and build strong images on location without random guesswork.


Strategic preparation

Study maps & satellite imagery to spot leading lines, terrain orientation and potential foreground anchors. Note sunrise/sunset, tides, moon phases or snowpack. Pack only essentials to stay mobile.
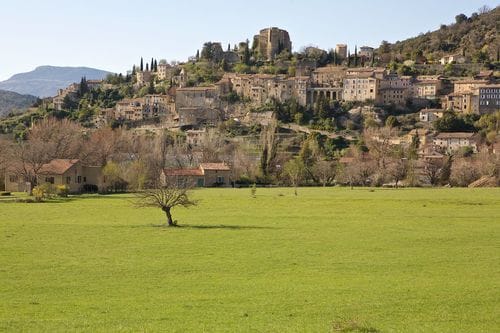
Deep scouting
Analyse existing imagery, topography, access (roads, trails, urban vs remote). Map alternative vantage points, potential foreground anchors (rocks, silhouettes, converging lines) and seasonal constraints (snow, tall foliage, tide). Building this mental map frees cognitive bandwidth during peak light.
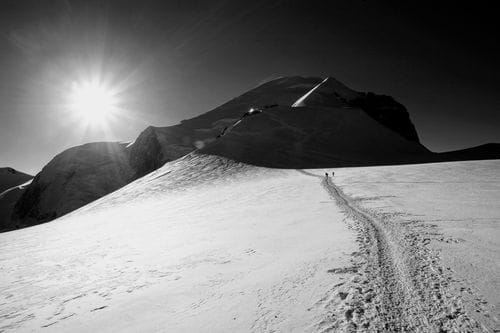
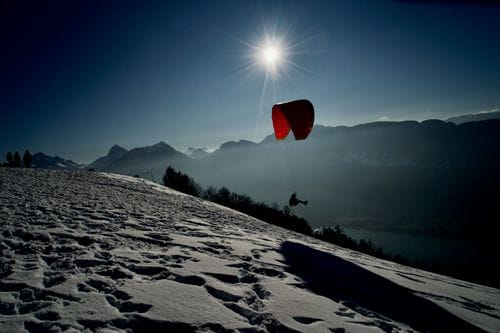
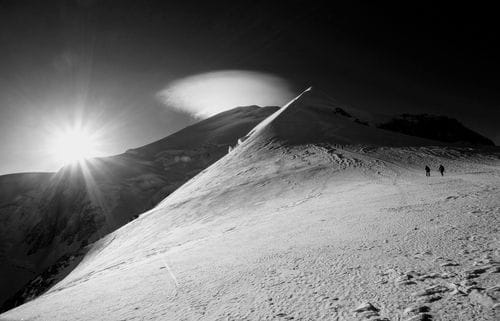
Light planning
Cross golden / blue hour with sun azimuth and possible shadow casting (relief). Pre-visualise how light will reveal texture & volume; decide if you need to arrive earlier for a secondary framing.
Sun path & orientation

The sun shifts north/south with seasons: only equinox gives true east/west. A sun‑path app (azimuth / elevation) lets you previsualise backlight, modeling sidelight or three‑quarter light. Anticipate shadow placement and terrain shading to avoid structural surprises.
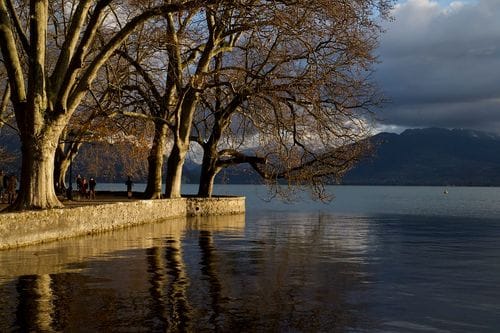
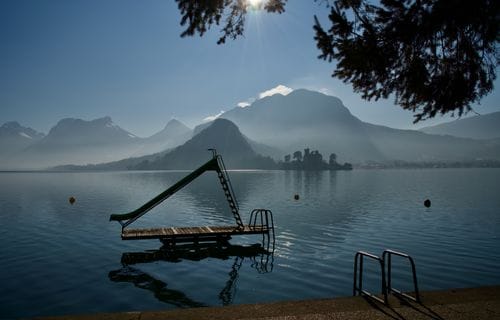
Weather & conditions reading
High clouds diffuse, cumulus gaps add drama, fog simplifies, wind animates water / foliage. Track cloud cover %, ceiling, humidity and gusts more than a generic icon.
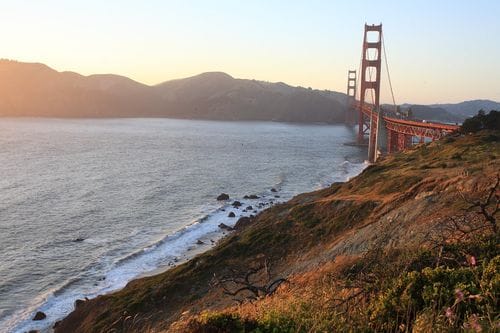
Optimal timing window
Cross season, blue/golden hour, tides, snowpack, potential urban lighting or lit windows. Note “bag down” time (often 30–45 min early) to refine before the rapid light transition.
Streamlined gear
Limit kit: body, 2 lenses (wide + normal / light tele), compact sturdy tripod, polariser, microfiber, charged batteries, cleared cards, headlamp. Fewer choices = more visual focus.
Safety & responsibility
Tell someone your route. Assess terrain (ice, tide, cornices). Layer clothing, water, snack, emergency blanket. Leave no trace & respect regulations (drones, protected zones).
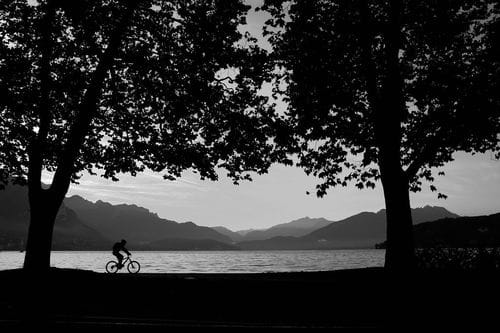
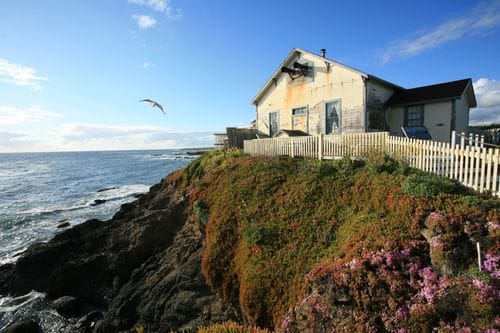
On-site observation phase
Arrive 30–60 min before key light window. Scan 360°, seek a structuring foreground, test heights. Make 2–3 “draft” frames to verify edges and horizon before peak light.
Active patience
Stay in creative standby: refine micro position, watch cloud / mist evolution, prep a plan B framing. Don’t leave right after expected peak—afterglow or a late gap often yields best atmosphere.
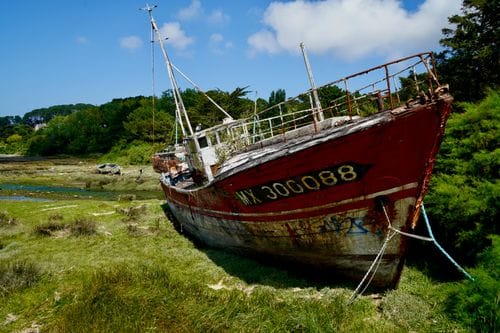
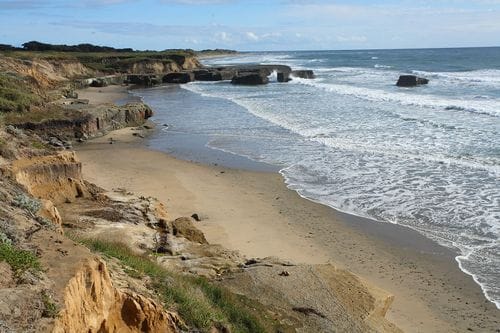
Adapt the plan
If conditions diverge (flat overcast, harsh light) shift objective: graphic details, textures, minimalist abstractions, black & white. A quick pivot saves the session.
Immediate backup

End of session: second card, copy to portable SSD or at least lock primary card. Never format before double presence of files.
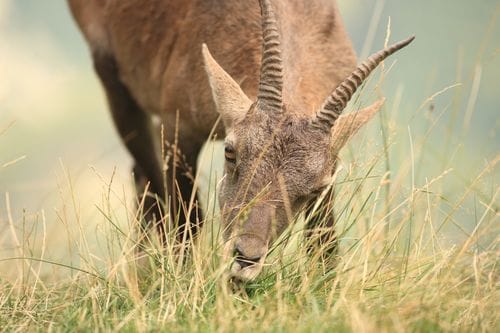
Minimal impact

Stay on trails if vegetation fragile, avoid trampling moss / dunes, don’t approach wildlife just to “fill” the frame; refine composition instead of forcing proximity.
Unpredictable variables
Dense fog, featureless overcast, sudden construction, lights switched off. Maintain a plan B: tighter graphic framing, textures, abstractions, monochrome. Better to return than force a weak frame.
Day‑before logistics
Day before: charge batteries, clear cards, streamline bag (body, 2 lenses, tripod, essential filters, microfiber), headlamp, thin gloves, proper layers, water, snacks, charged phone, small first aid. Fuel topped up, route & sunrise verified. Fewer dawn decisions = clearer creative focus.
Quick field checklist
- Batteries / cards OK?
- Route shared?
- Light window & weather updated?
- Foreground identified?
- Backup plan ready?
- Safety (layers, water) sufficient?